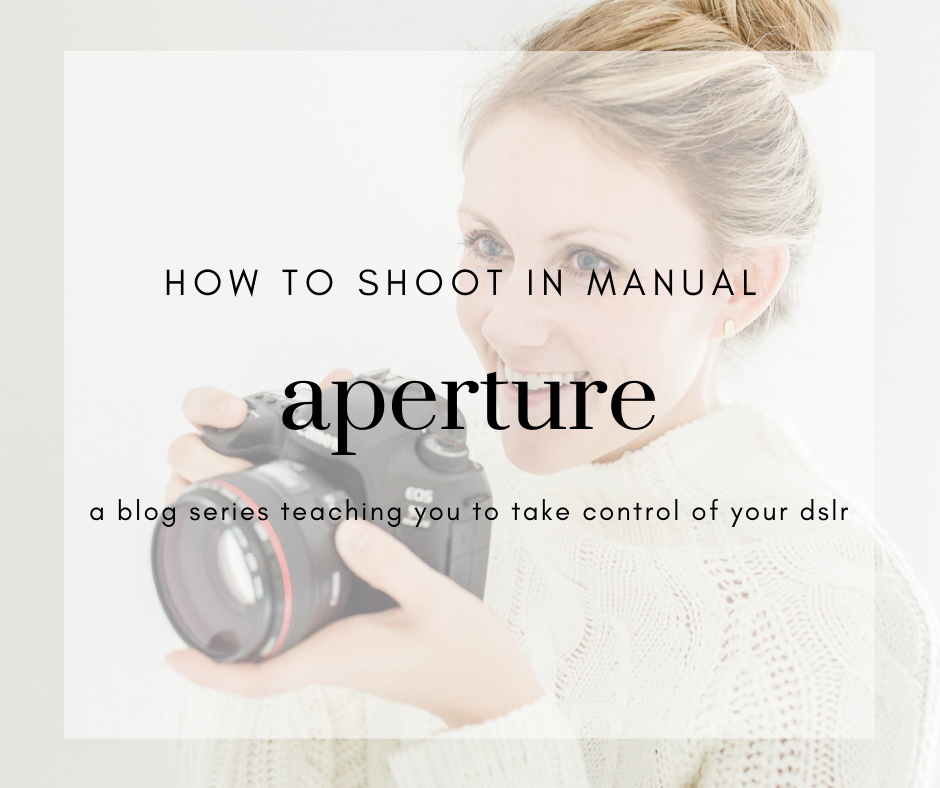
How to Shoot in Manual | Aperture Tutorial
Welcome to part 2 of the “How to Shoot in Manual” blog series. The first post in this series served as an introduction to the importance of learning to shoot in manual and also covered shutter speed. Click here to check out that post!
Remember, as you learned in the first blog post, there are three settings that you need to control to shoot in manual: shutter speed, aperture, and ISO. In this post I will be talking about aperture.
What is Aperture?
Aperture controls the size of the opening in a lens that allows light into your camera and it affects the depth of field in your images. It is measured in f stops. This is the setting you use to achieve either a landscape shot with everything in focus, or photos with a blurry background (this blurry background is called bokeh, think of it like portrait mode on your iPhone!)
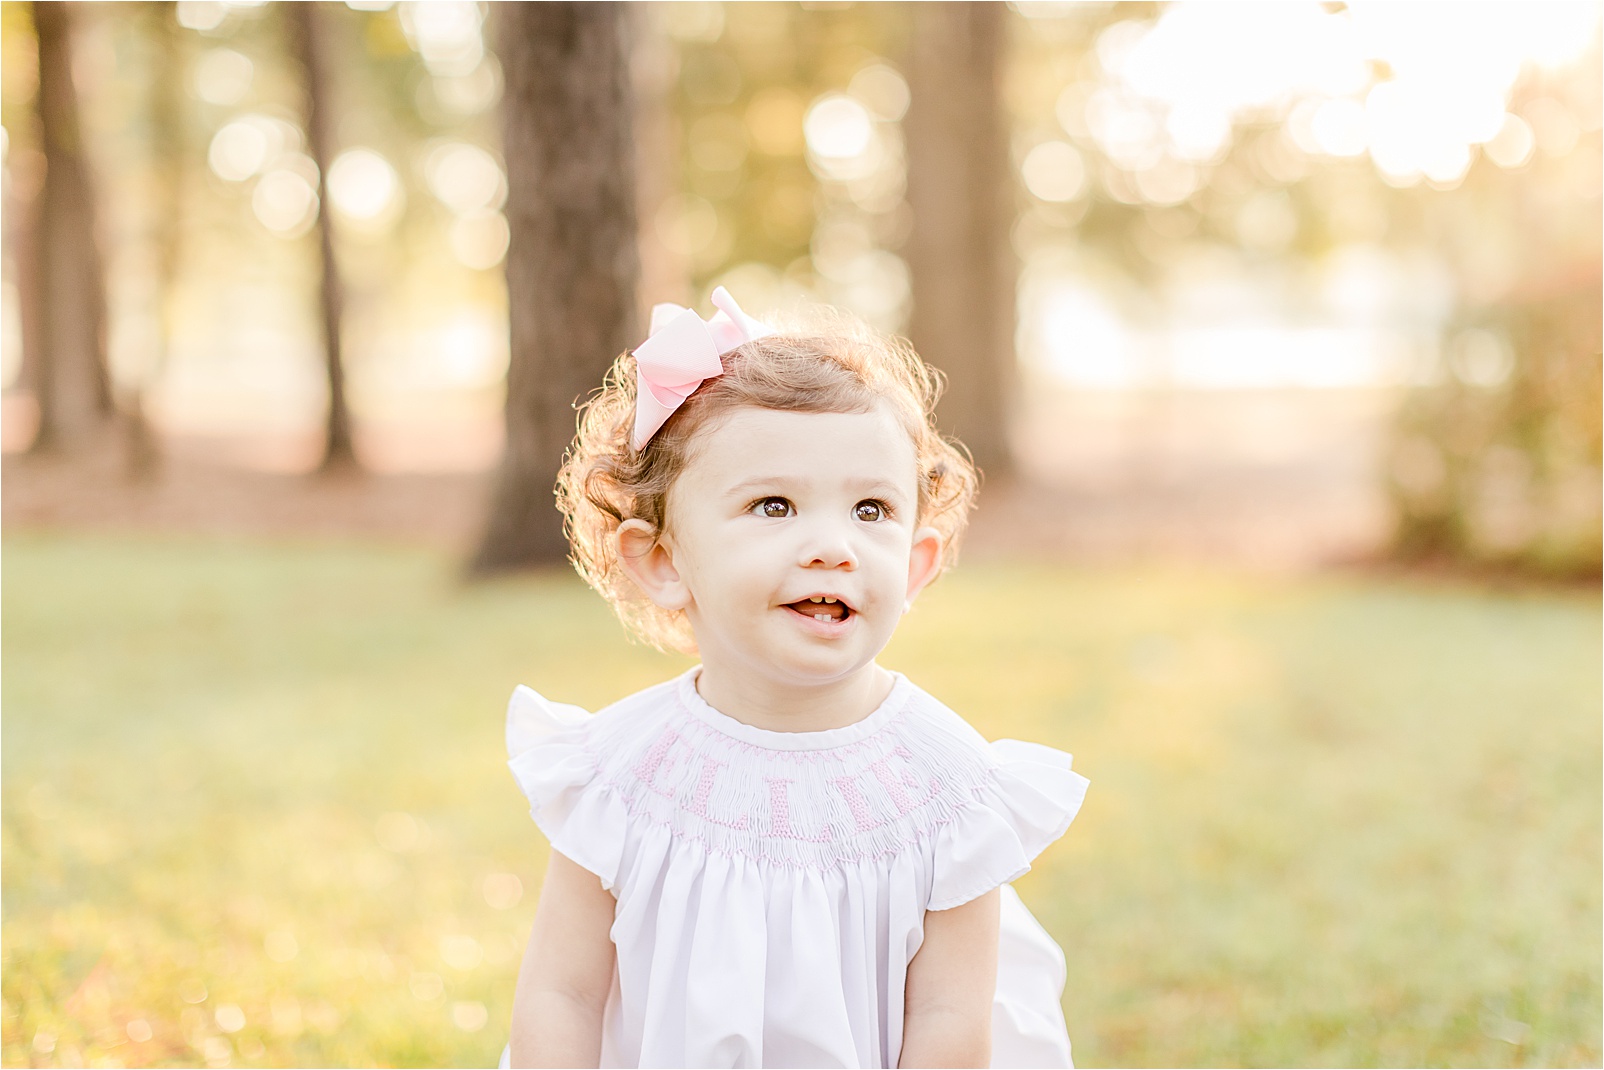
The blurry, creamy background is called bokeh. This image was shot at f/1.8.
The range of f stops is dependent on what lens you are using. Take some time to look at your lenses. You will notice they show a focal length (a number followed by mm) and then the f stop range (written as f/a number). That f stop written on your lens shows the lowest f/stop that lens can achieve. Most kit lenses that come with camera sets do not have a low f/stop. If you want to achieve those blurry backgrounds, a great investment would be a 50mm f/1.8 lens. This lens is typically priced around the $100 range)
How does Aperture Work?
The number in the f/stop measures how thick the rim is of the opening that lets light into your camera. You can think of this opening like a pupil. When the opening is small, less light comes in. When the opening is wide, more light comes in.
The higher the f/stop number, the less light comes in, and the deeper the depth of field (more in focus).
The lower the f/stop number, the more light comes in, and the shallower the depth of field (blurry background)
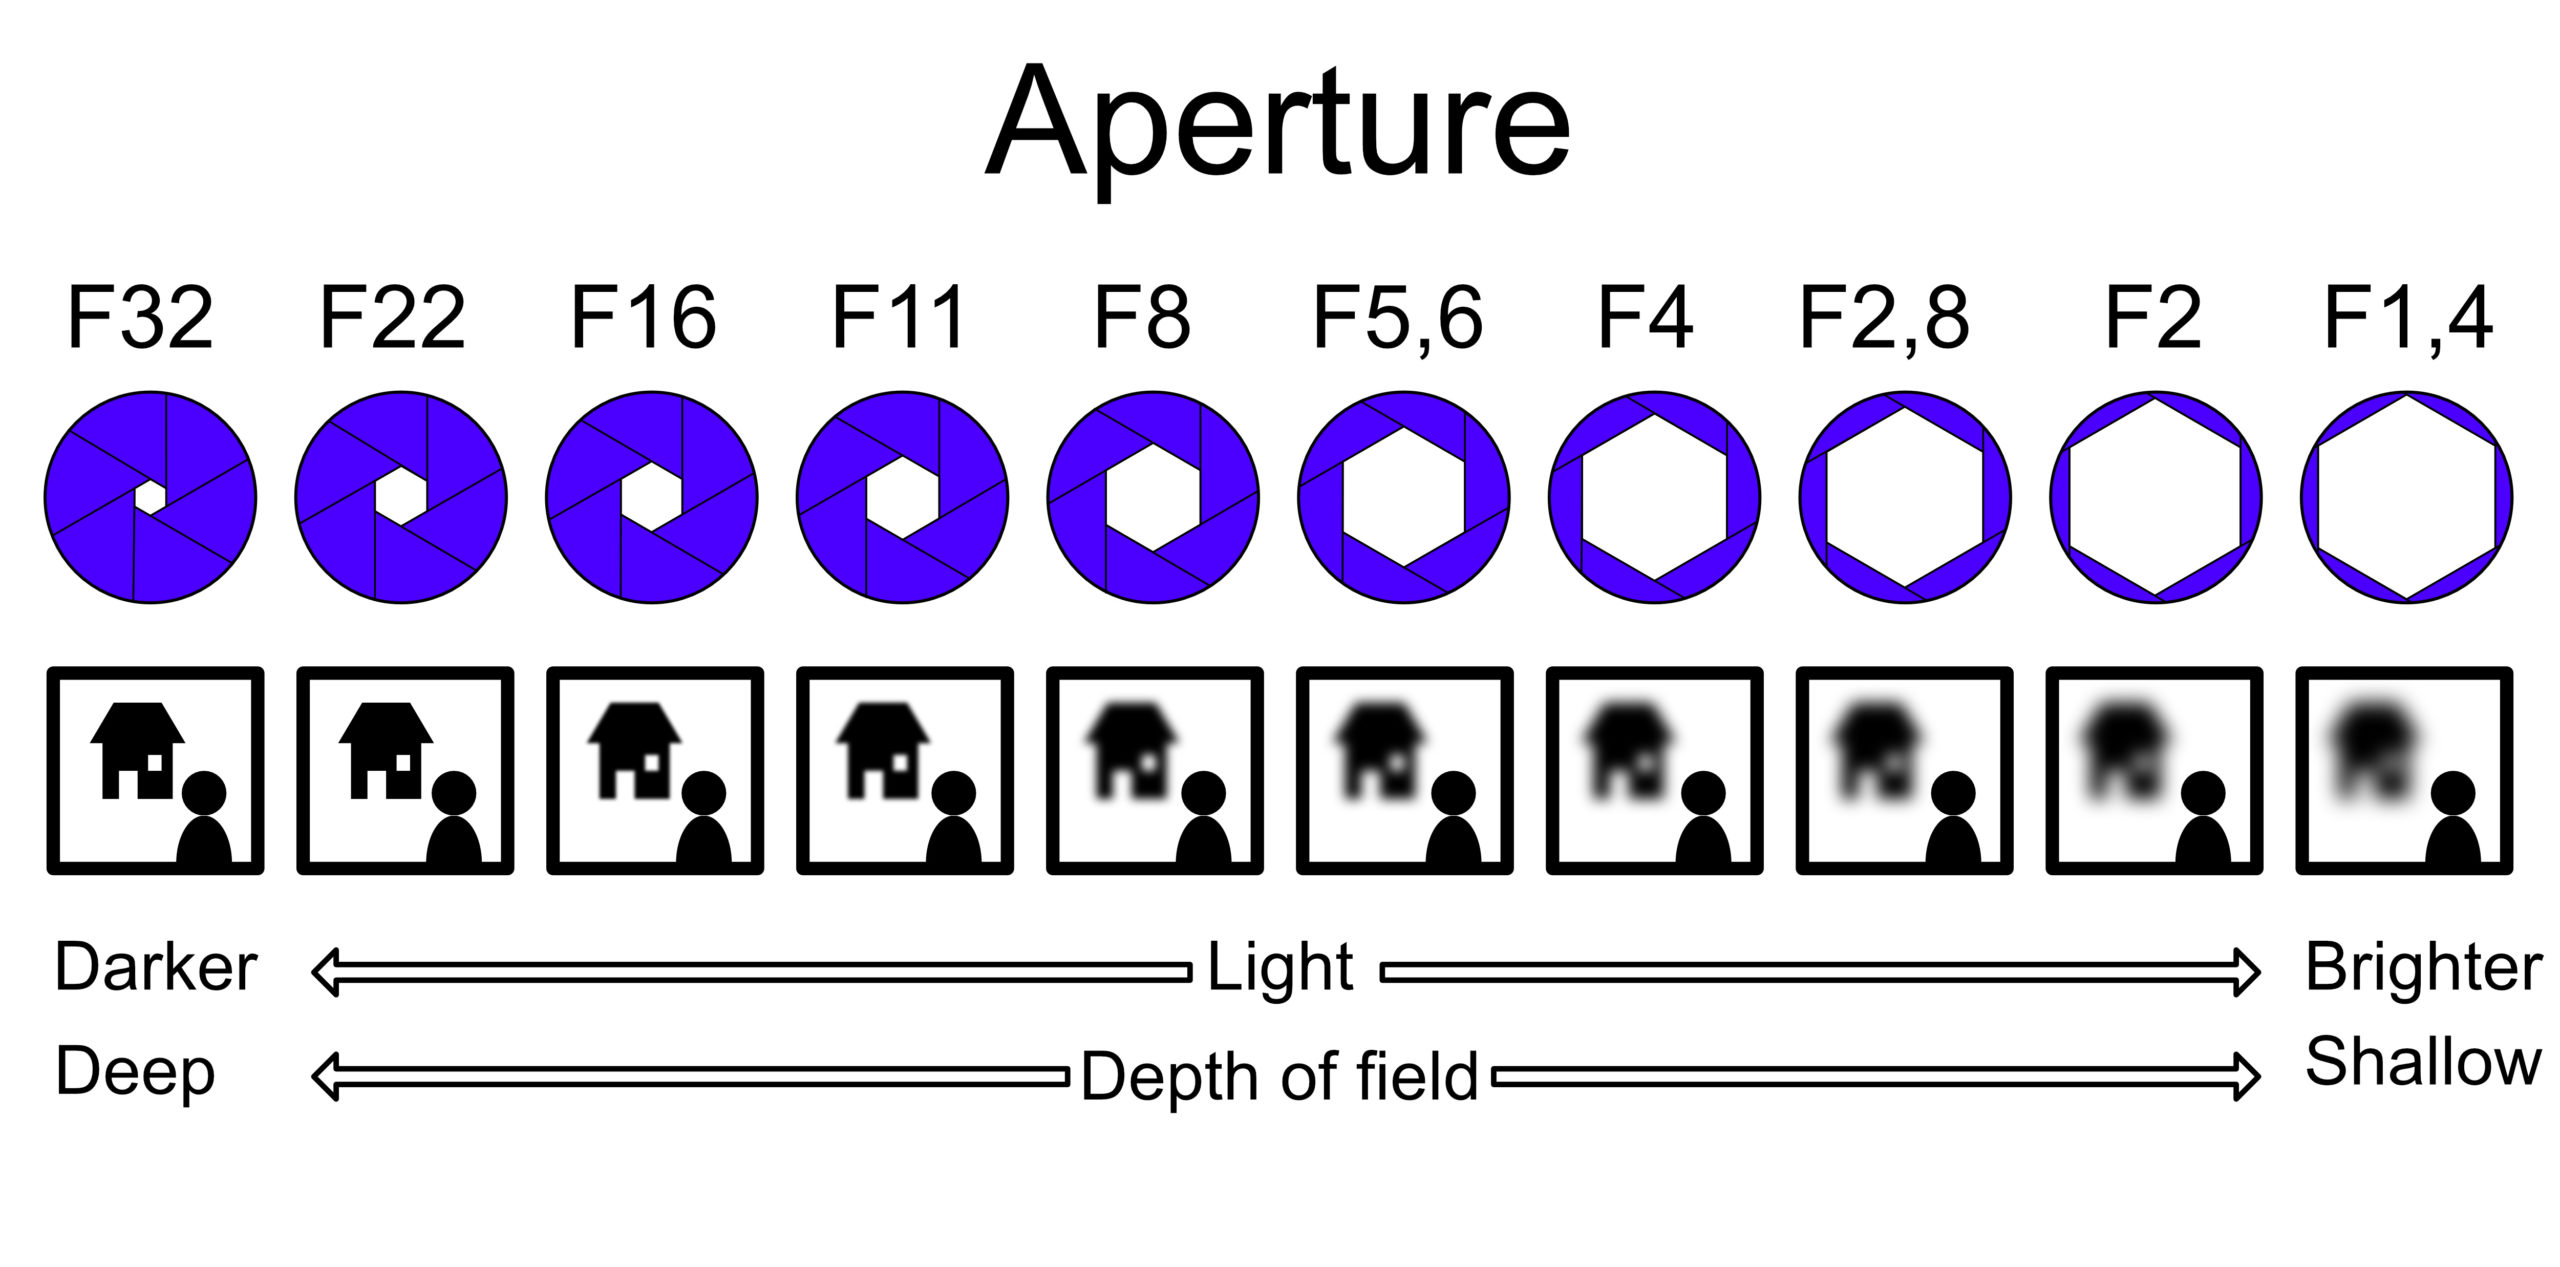
Infographic explaining depth of field and the corresponding aperture values with their effect on blur and light
A Caution for Aperture Settings!
If you love bokeh, beware of what you focus on when shooting at low f/stops such as 2.8 or less. You have to carefully focus on your subject. If you miss your subject, your camera can focus on a non important part of the image and your subject could become part of that blurry background and foreground. To check what you are focusing on, look through your viewfinder and depress the shutter button halfway. You will notice some little squares of dots in your viewfinder light up. Those show exactly what your camera is focusing on. Most cameras automatically choose what you are focusing on. I recommend changing your settings so that you choose the focal point. You can either choose the center dot and always use that to focus and recompose your shot, or you can manually toggle over to the focal point you want to use for each image. Personally, I focus and recompose my images.

This image was shot at f/1.2. Notice that my focal point was her right eye (the eye on our left). The depth of field was so shallow at f/1.2 that even her hand, hair, and other eye are slightly out of focus. Also notice how creamy the bokeh was in the background at such a low f/stop.
Another caution is to mind your aperture when shooting groups of people. In a group shot, it is important to have everyone’s faces in focus. Try to keep everyone as close to the same plane as possible. If they are in a mostly straight line, I would recommend an f/stop of at least 2.8. If you have people standing on steps or who are in rows, you will be dealing with more planes and will need a much deeper depth of field, so I would recommend an f/stop of at least 4.5. I always have people squish in as closely as possible for this reason!

This was shot at f/3.5 in order to have a deeper depth of field so all the subjects’ faces are in focus. Since there are only two rows I was able to use 3.5. If there had been more rows, I would have used a larger f/stop.
Personally I love shooting in lower f/stops! I always keep my f/stop as low as the grouping will allow. The only time I shoot with very high f/stops is when I’m shooting an interior where the whole room needs to be in focus. If you wanted to shoot detailed landscape shot of the outdoors, you would need a much higher f/stop.
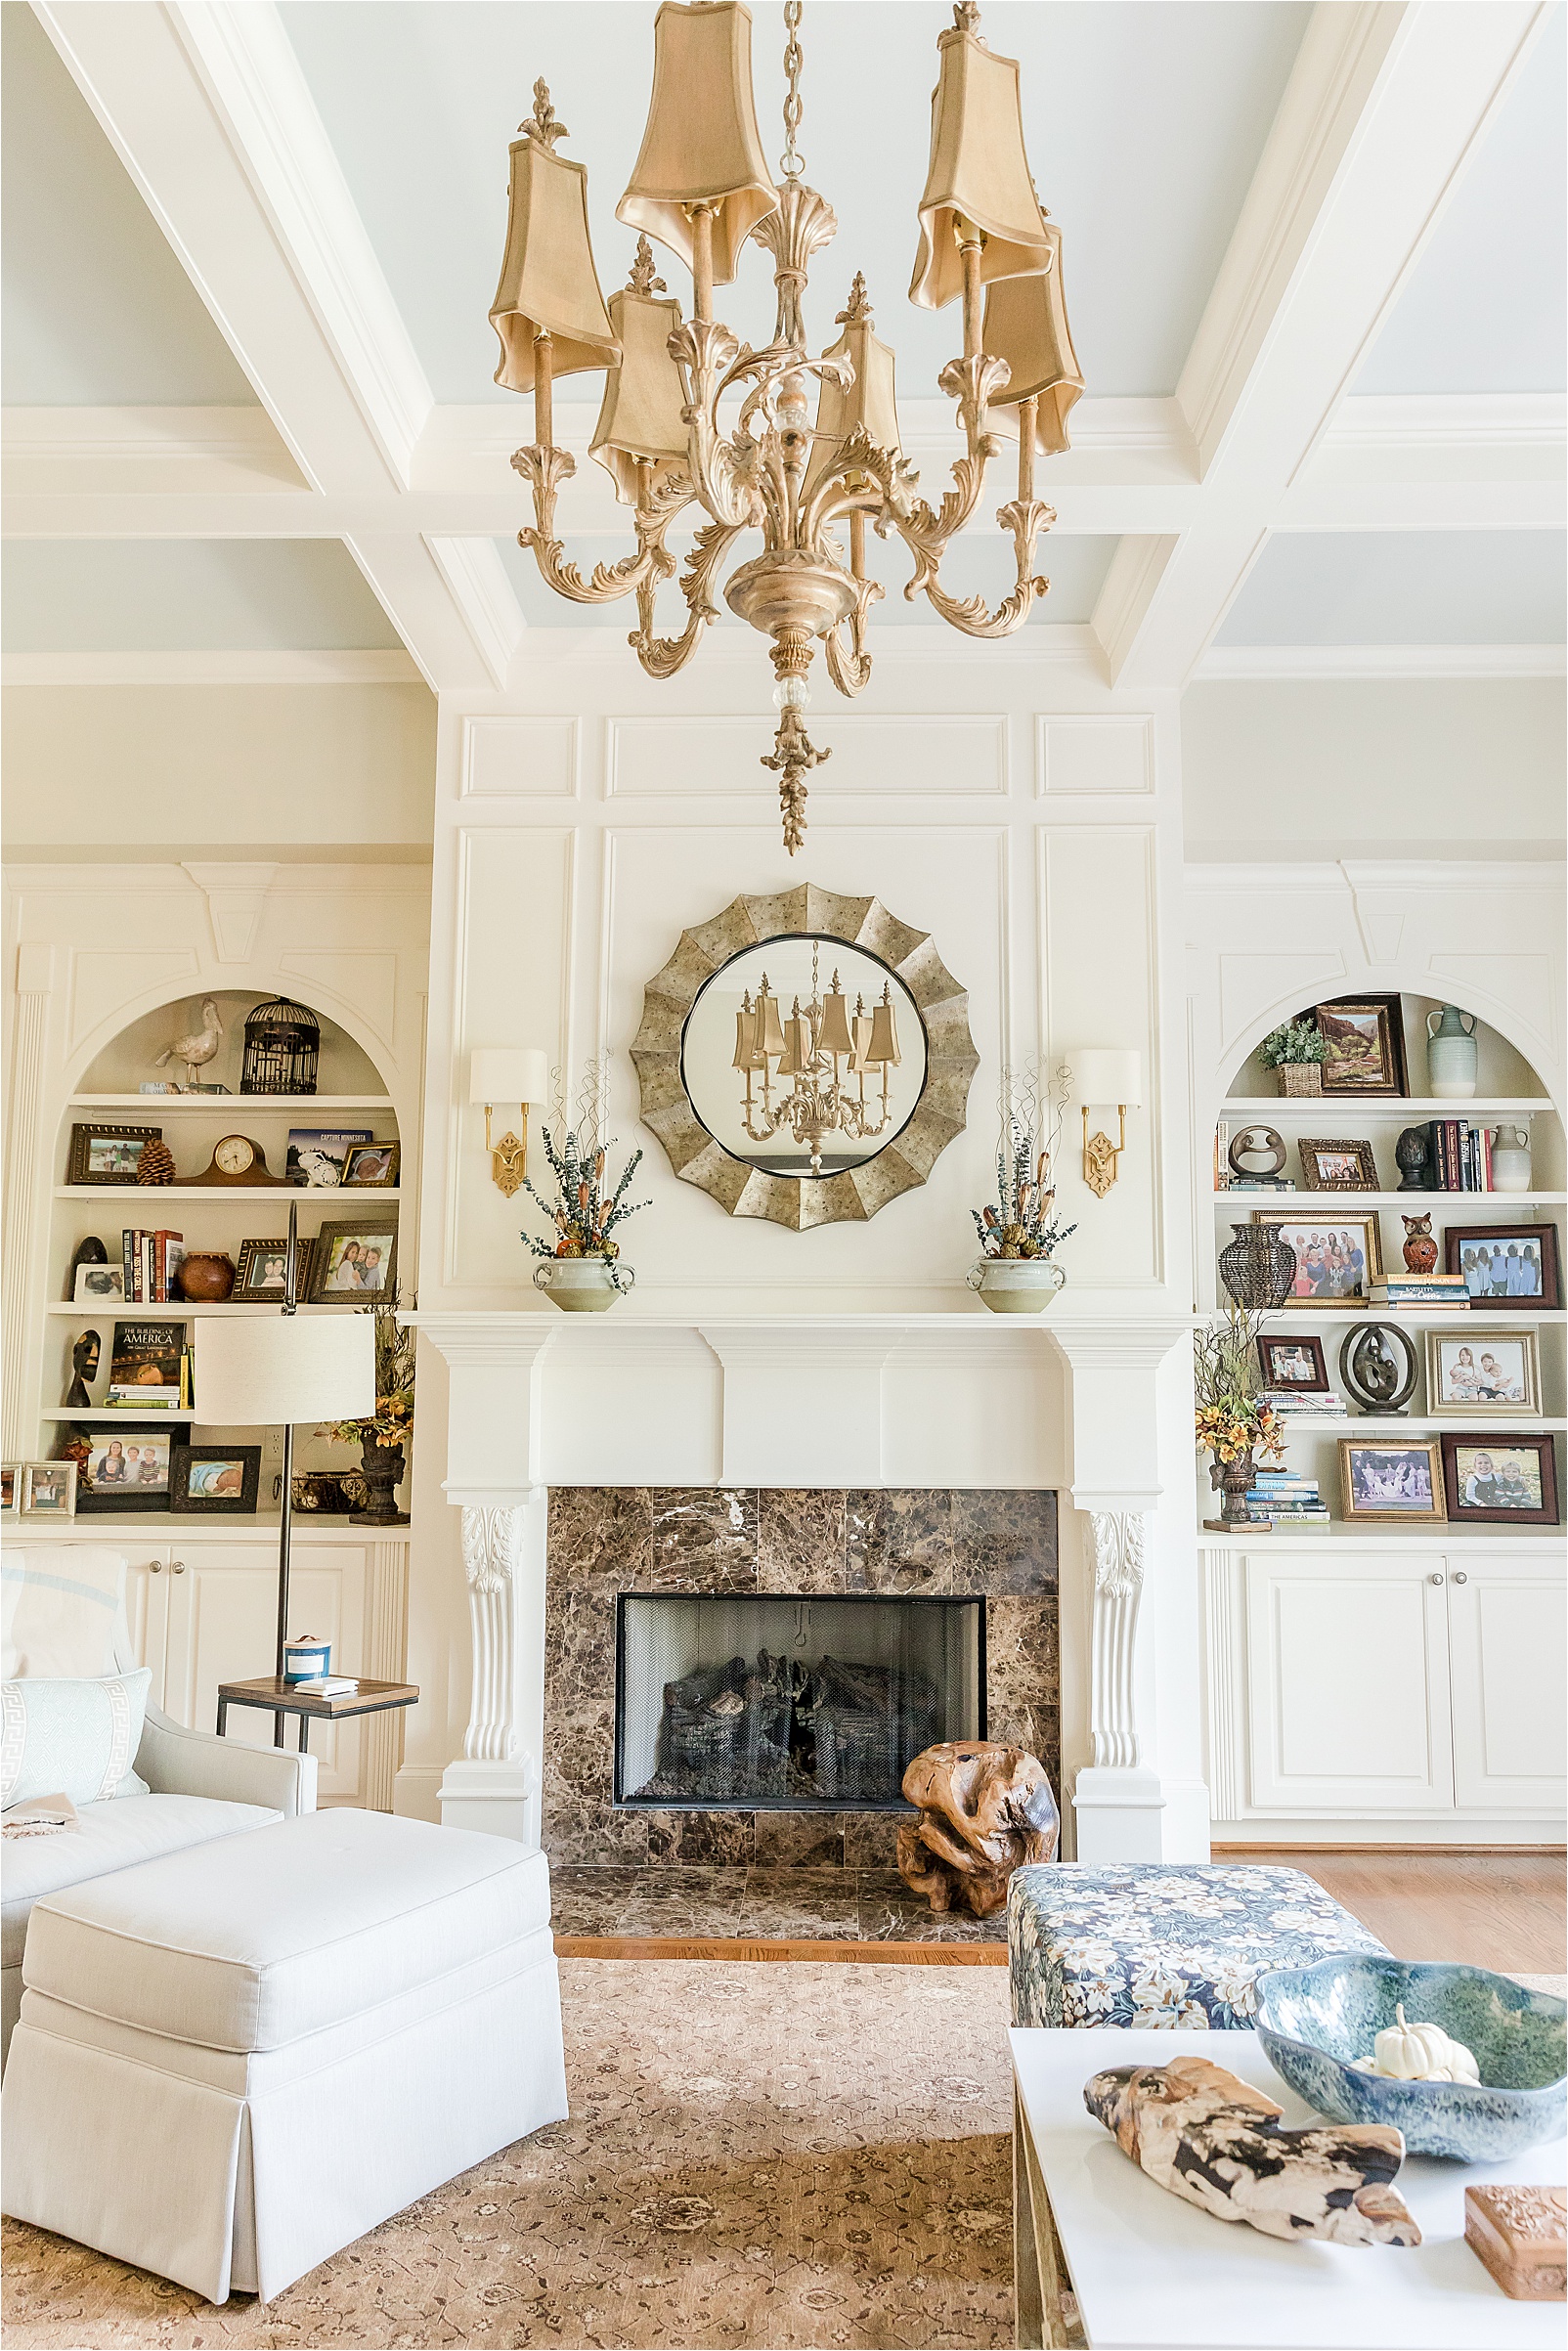
This image was shot at f/5. Notice that more of it is focus.
Applying Your Knowledge
Let’s do a quick recap! Aperture controls the amount of light your lens lets in and the depth of field in your image. The higher numbers let in less light and keeps more in focus. The lower numbers let in more light and less in focus. Now that you have this part down, let’s find how to adjust the aperture on your camera!
As I mentioned in the first blog post of this series, one of the vital parts to shooting in manual is to know how to quickly adjust your settings by teaching your fingers where to go! First, turn on your DSLR and turn your camera to the M for manual mode. Now look for the aperture setting, the f/stop, on the back of your camera. Most cameras will require you to depress the shutter button halfway to activate the meter before you can make adjustments.
Canon Rebels: Press and hold the AV button with your thumb and rotate the main dial with your index finger.
Canon EOS: Use your thumb to rotate the big dial on the back of your camera.
Nikon: Press and hold the button on top with the aperture circle and use your thumb to turn the main dial.
Nikon semi-pro and pro lines: Turn the subcommand button on the front of the camera under the shutter release with your index finger
If your camera wasn’t listed, you can find specific directions for your equipment in your camera manual or through a google search of your model.
Take some time practicing how to change this setting quickly. Take note of the range of each of your lenses to see how low and how high the f/stop can go.
Molly is a family, newborn, and interiors photographer based in Greenville South Carolina. To learn more about Molly, click here.
Come follow along on Instagram!
Molly
Leave a Comment
Leave a Reply


Meet Molly

Molly specializes in family & newborn photography in Greenville, SC. A former teacher and mother of three, she is known for capturing the joy & love of families. Photo sessions with Molly turn family memories into artwork for your home and for generations to come.


Comments