How Shoot in Manual Mode | Shutter Speed
 Did you know, before I was a photographer, I was a teacher? I have a degree in education from UGA and in my past life I taught 1st, 3rd, 5th, and 7th grade. In 2019, I combined my two loves of teaching and photography and offered two beginners photography classes. I absolutely loved doing this, and hoped to do it again this year, but life has been a bit crazy. Since this little global pandemic has caused all of us to hit the pause button for a couple of months, I decided now would be a wonderful time to start a blog tutorial series for shooting with your big fancy camera! Specifically this series is going to cover the knowledge you need to take control of your dslr and get the best results by shooting in Manual mode. I will break it down to one blog post to cover each of the three parts of the exposure triangle: shutter speed, aperture, and ISO
First things first: What is Manual Mode, and why is it important to learn how to shoot in Manual Mode?
Manual mode can be found on the top of your camera on that little turn dial to turn your camera on. It is indicated by an M. Manual mode means you tell your camera exactly what to do (specifically it means choosing the exposure by setting the shutter speed, aperture, and ISO settings yourself).
When you shoot in Auto or one of the other modes on your camera, your camera is guessing at the correct settings and applying them. Occasionally you may get a good photo using Auto, but the key to getting great photos is by taking control of your settings! You are smarter than your camera. The camera is a tool, and it works best when you are the one evaluating what and how you want to capture something and choosing the settings yourself.
Let’s cover a couple of basics to get started: What is exposure?
Exposure is the amount of light processed by your camera. In simple terms, it is how bright or dark your photo is. You want to use your settings to get a good exposure (not too bright, not too dark). When your camera is turned on and you look through the viewfinder/eyepiece, you will notice some little notches at the bottom with a number line. If you are too far to the left and in the negatives, that means your current settings are going to result in a darker image. If you are too far to the right in the positives, that means your image will be too bright. Your goal here is to be close to the middle point, zero.

There are three elements that you set to affect your exposure: shutter speed, aperture, and ISO. Each of these settings will have affect how much or how little light comes into your camera, and will have a special effect. Today we will be covering shutter speed.
What is Shutter Speed?
The shutter speed controls how long the camera shutter stays open. You can use it to make things look blurred or freeze motion. It is measured in fractions of a second, for example, 1/250th of a second, 1/1000th of a second, and so on. Take a moment to locate the fraction on the back of your camera, that is where you can check what your shutter speed is set to!
How Shutter Speed Works
The slower the shutter speed is (the lower the denominator), motion will be blurred and more light will be let in. Think about this as holding your eye open, you see long motions and lots of light comes in because your eyes are open for longer.
The faster the shutter speed is (the higher the denominator) , motion will be frozen and less light will be let in. Think about this as a quick eye blink, it freezes a moment in time but less light comes in because it is so fast.

<<<<-more light coming in ——————-less light coming in->>>>
A Caution for Shutter Speed Settings!
Don’t go to slow (too low of a denominator) or you will get blurry photos. If your shutter speed is very slow, it can pick up subtle shake in your hands blurring the photo. Also if you are photographing children or pets who wiggle and move a lot, you will see this motion as blurred spots in your image. Personally I strive to stay at 1/250 or higher when I’m shooting children to allow in light but keep my images from being blurred. If I’m trying to capture motion, such as a child jumping on a bed, I would shoot at a faster shutter speed like 1/400 or faster.
If you need a very slow shutter speed to take an interior photo or to capture purposeful blurred motion, you should use a tripod to prevent camera shake from your hands. I often use slow shutter speed for interior photos. I prefer to take my interior photos with all the indoor lights off, so using a tripod and slow shutter speed allows me to keep my images exposed properly.
The photo below show an example of what can happen when your shutter speed is too slow for motion. The kids and balloons were moving quickly, and the slow shutter speed of 1/125 allowed in more light, but also captured motion blur around the balloons and hands and feet of the kids.

The slow shutter speed of 1/125 is creating blur from the motion.
The shutter speed for this twirling photo was 1/320. This was a faster shutter speed and was therefore able to freeze the motion. The only slight blur visible is around the hair, which was moving the fastest.
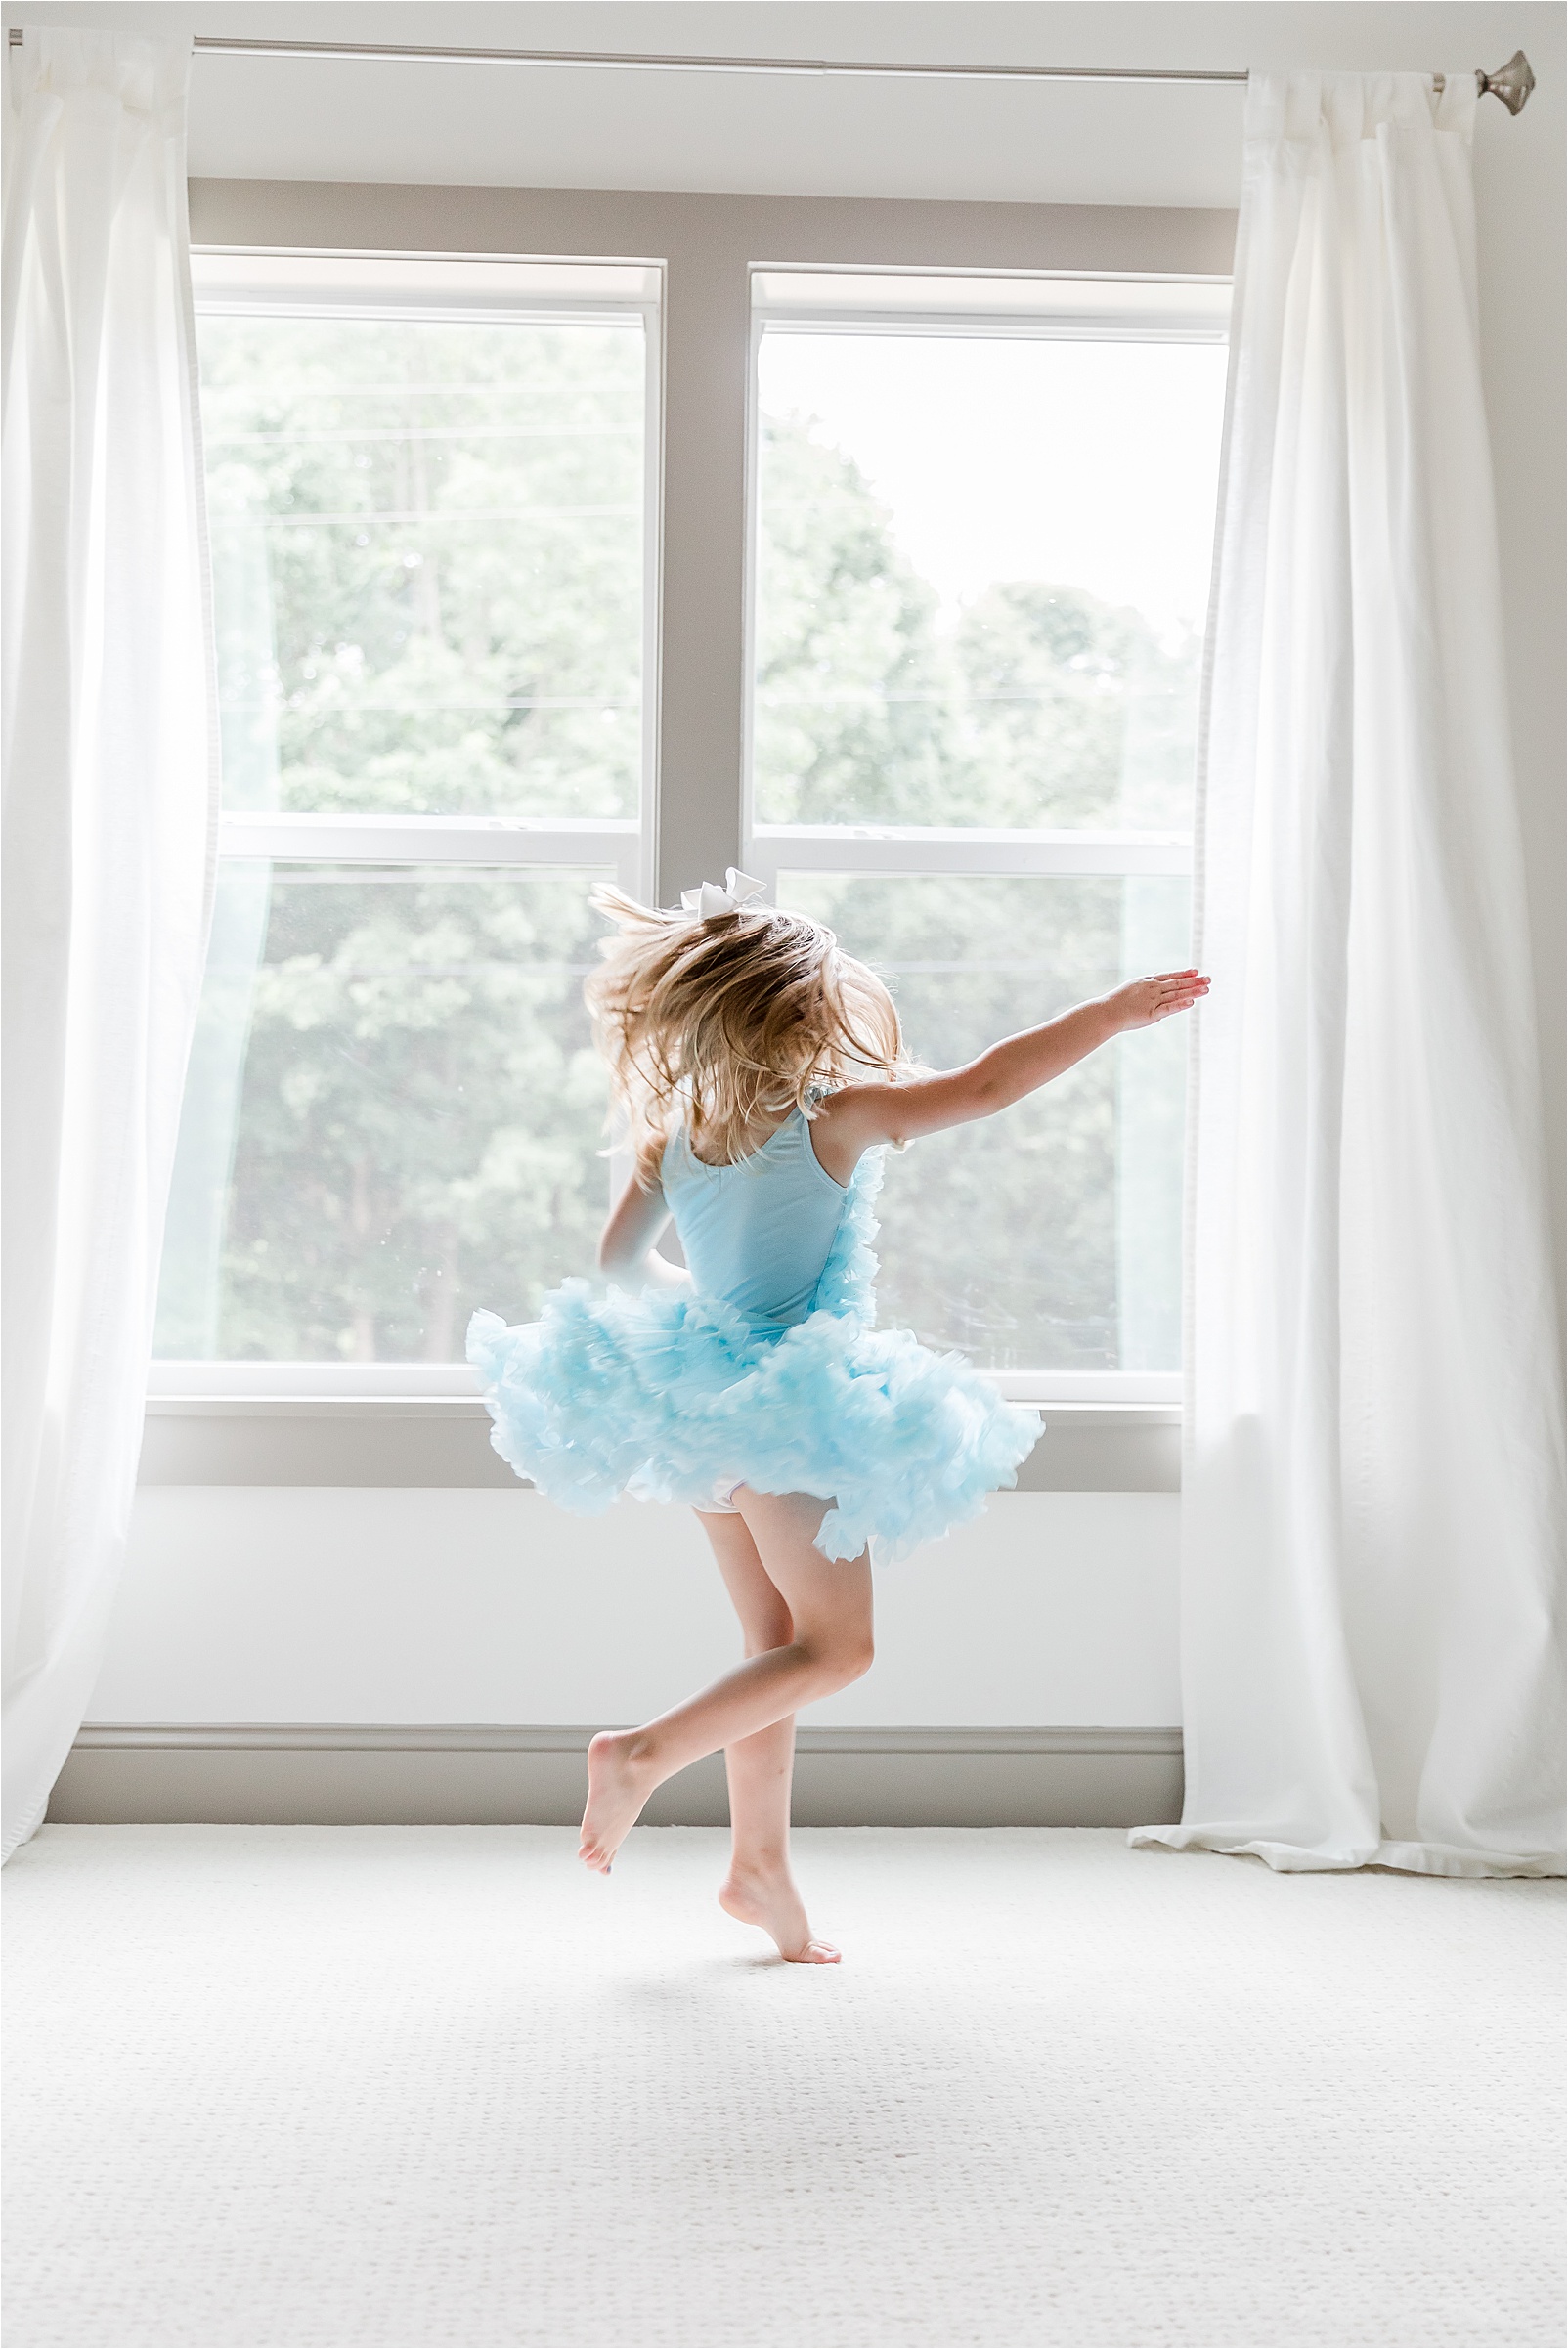
Shutter speed of 1/320 was able to freeze the majority of the motion here.
For this jumping photos, I wanted to freeze as much motion as possible so I could catch her midair. I used a shutter speed of 1/400 here. Notice how the motion is frozen and sharp. I didn’t want to go higher that 1/400 because it would let in less light and would have made the photo too dark. I was shooting this in a room with only natural window light.
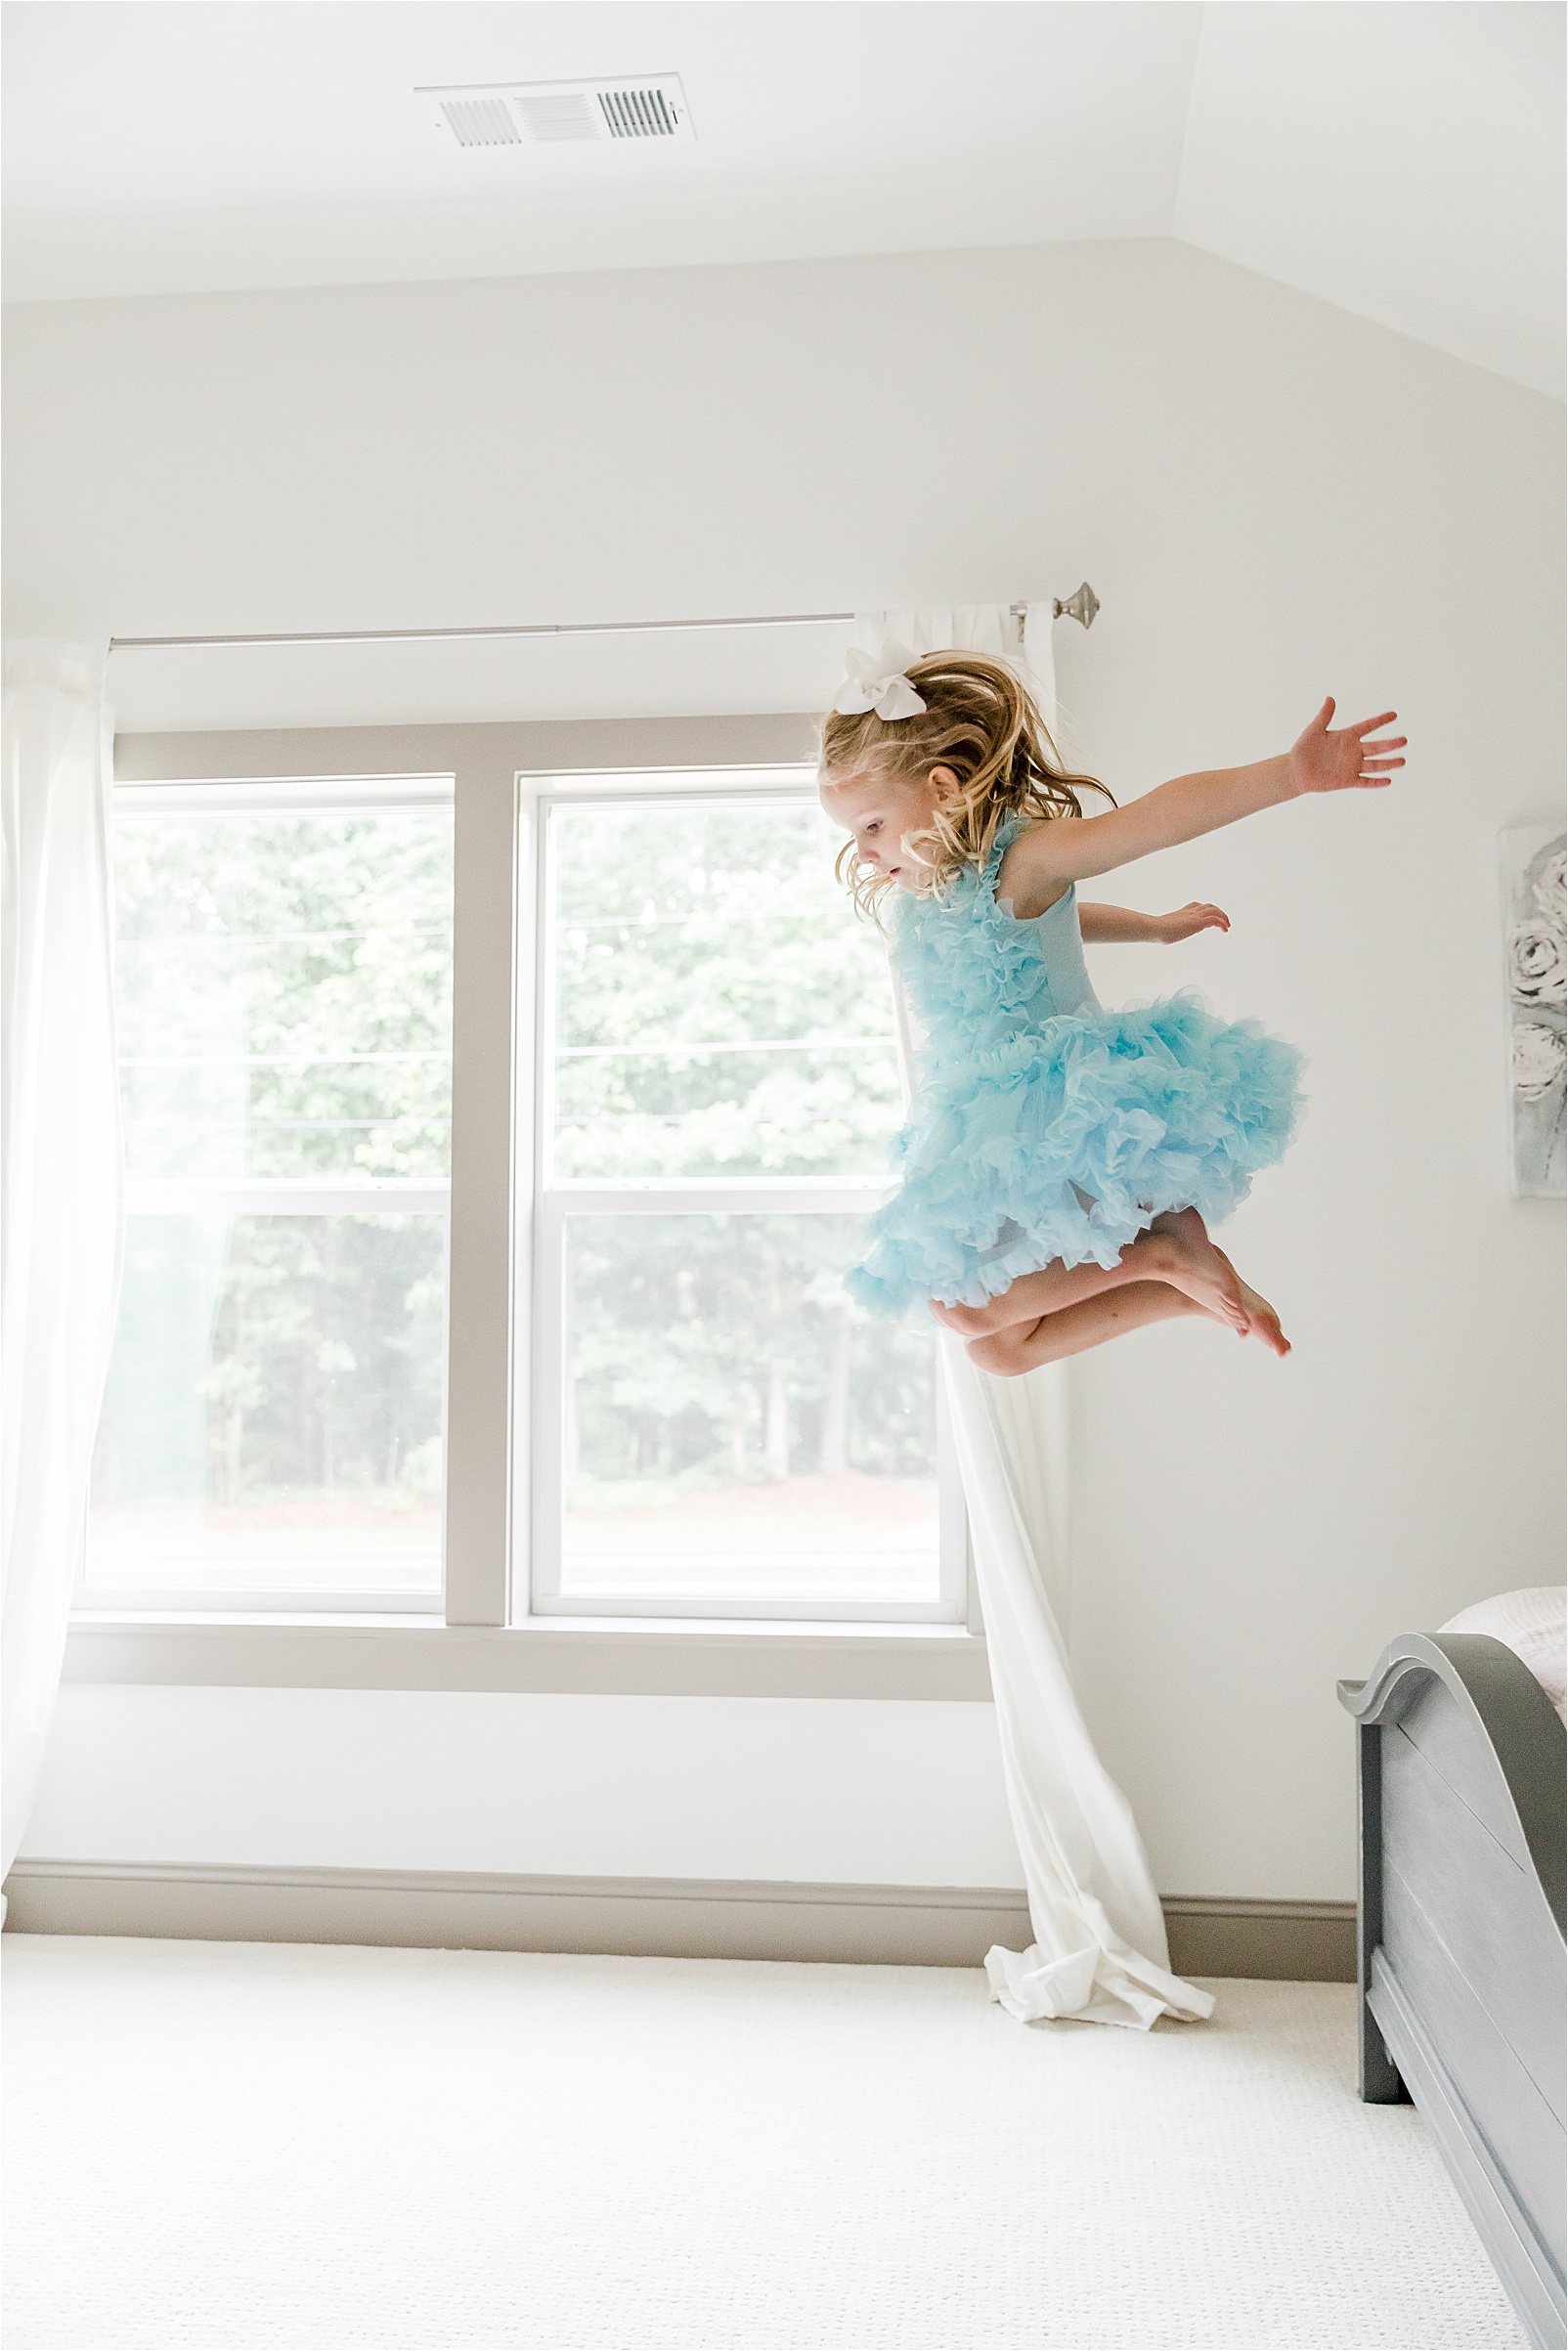 Shutter speed of 1/400. This speed was able to freeze most of the motion
Applying Your Knowledge
So, first make sure you have a good understanding of what shutter speed does. Let’s review: faster speeds like 1/400 and faster freeze motion and let in less light while slower speeds like 1/100 blur motion and let in more light. Now that you have grasped this, let’s find how to adjust the shutter speed on your camera!
One of the keys to shooting in manual mode is to be able to quickly adjust your settings on the back of your camera. So turn on your DSLR and turn your camera to the M for manual mode. Now try to find the shutter speed on the back of the screen. Remember, it will be in fraction form. Now try to find how to change this setting. Most cameras will require you to depress the shutter button halfway to activate the meter before making adjustments.
Most Canon Rebel and EOS cameras will adjust the shutter speed by rotating the main dial with your index finger (it’s located near the shutter button).
Most Nikon camera will adjust the shutter speed by rotating the Main Command dial with your thumb.
You can find specific directions for your camera in your camera manual or through a google search.
Once you determine how to change this setting, I recommend to practice changing your shutter speed over and over again. You don’t even have to take any photos. The goal here is to create some muscle memory in your hand so your fingers know exactly what to do when you think about shutter speed. While I’m shooting clients or even my own family, I keep up interaction with them while my fingers silently and quickly adjust settings. I am able to do this because I have practiced so much that my fingers remember where to go and what it feels like to adjust each settings. This is why the key to success her is practice, practice, and more practice! Overtime it will become an automatic response.
Next up I will cover aperture!
Molly is a family photographer located Greenville, South Carolina. You can contact Molly here. Come follow along on Instagram to see all the latest and get to know Molly better!
Molly
Comments
Leave a Comment
Leave a Reply


Meet Molly

Molly specializes in family & newborn photography in Greenville, SC. A former teacher and mother of three, she is known for capturing the joy & love of families. Photo sessions with Molly turn family memories into artwork for your home and for generations to come.


[…] in my “How to Shoot in Manual” blog series. If you haven’t already, be sure to check out Part 1, which not only covers shutter speed, but also sets the foundation for this series and the […]
[…] mode so I can fully control my settings. If you want to learn about that, you can read my series on manual mode! My settings: ISO 3200, Aperture f/1.4, Shutter speed 1/160. Shooting at an ISO of 3200 will […]