How to Make Yearly Photo Books without Getting Overwhelmed
 I have a confession. I have never finished a baby book. I had the best of intentions to do it for my first two children. I bought one of those cute baby books with blanks to fill in, and special spots for a photo to be attached. I took plenty of photos of my children, but I was so overwhelmed with the exhaustion of caring for a baby, that I never took the time to print each photo to fill each spot, and I forgot to write down dates for some of the milestone blanks I was supposed to fill in! There were just too many steps to complete, so I quickly got overwhelmed and gave up. I didn’t even purchase one for my third baby! I knew if I was going to keep up with the sheer volume of photos for a family of 5, I would need a quick and efficient system for documenting our memories. I decided to create a yearly family photo book system to keep track of our family history and created a quick and efficient workflow to keep it stress-free!
We have endless photos of our kids living in our pockets. But so often those photos get posted to social media, or just get stuck living on our phones. So what’s keeping you from creating a tangible item to show our family history?
I think for most it’s not only choosing a service and product, but mostly it’s the overwhelming task of sifting through the countless digital photos we have to craft a book or album. The sheer volume of images can be so overwhelming that we become paralyzed and never get anything done!
Life is already overwhelming and busy, the key here is to choose the simplest way to narrow down your photos and get a book made so you can have tangible way to share memories with your family. Today I’m going to share a workflow to simplify the process.
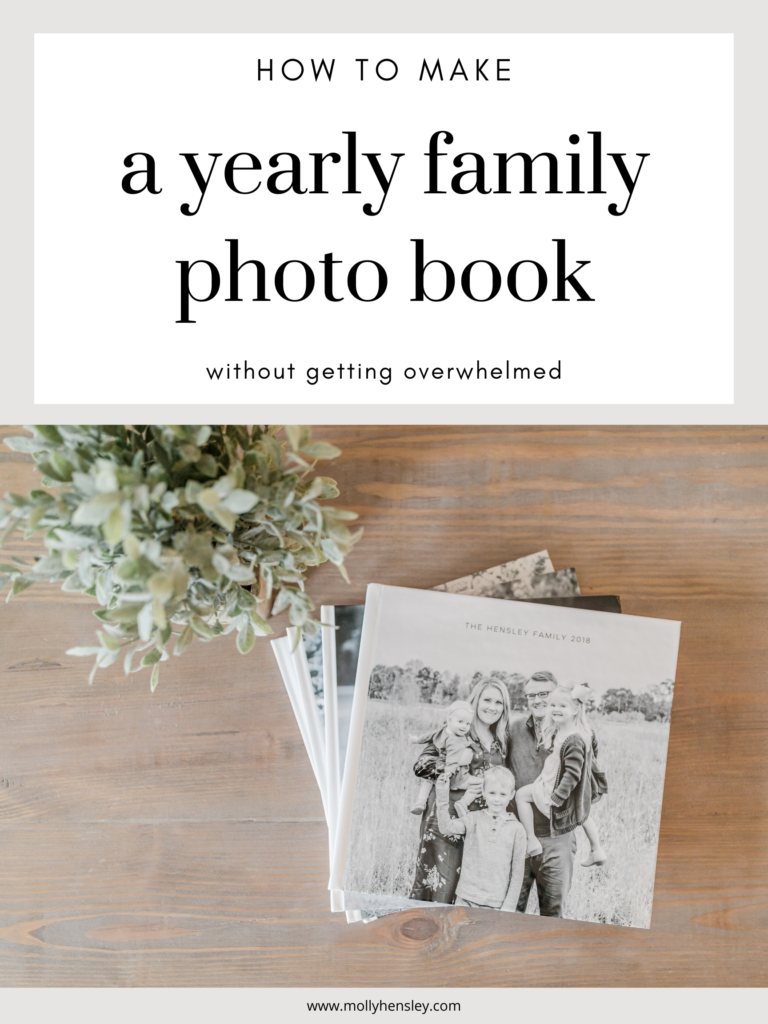
I like to break this down to a yearly photo book for my family. I compile all the photos from one year into a book which I title by the year. My children LOVE sitting down together to look at these books. I’m going to go over the service I use and the steps to share how to keep this process as simple and quick as possible!
The Service
As a photographer, I have access to gorgeous heirloom albums that have beautiful, thick pages and are created to last for years and years. Each page is carefully crafted to showcase the beautiful tones, colors, and sharpness of the digital images I produce. But guess what, 99 percent of the photos I take of my children at home are not beautifully crafted images taken on my professional camera. There are quick iPhone shots I snap to commemorate special moments. And those photos are just as beautiful to me because they are taken to celebrate special memories of my babies! This means that my family yearbook is mostly made up of iPhone photos, so I use Shutterfly to craft my family yearbooks. Are they as perfectly made and long lasting as the heirloom albums I sell as a photographer? NOPE. But do they document my family memories and display my personal photos well? You bet!
Some pros of using Shutterfly
-Shutterfly has unlimited image storage, so this is a backup source for all of your images.
-Shutterfly is very affordable and runs many sales, so you can create family yearbooks even if you are on a budget.
-Once you’ve created a book, the project is saved on Shutterfly. This is nice because you can order at a later date, or if one of your books is damaged or lost, you can reorder the same book.
-You can upload iPhone photos directly to Shutterfly via an app on your phone.
-Shutterfly has a timeline feature that sorts all your photos by the date taken, this is the key to how I quickly and efficiently build a family year book!
-Shutterfly has been around of a long time, and therefore you can be reassured that your photos and books will continue to be safely stored there as long as the company is around.
Some cons of using Shutterfly
-The quality and consistency of their products are not great. I truly believe you get what you pay for. While Shutterfly may not provide the high end, long lasting products that you would want to display on your walls, it is still a great and affordable way to get your family memories printed for books.
-Shutterfly automatically “enhances” all your photos, which basically means adding a filter to them. I recommend turning this off.
The Process
Here is my step by step process of how I quickly and efficiently create a family year book!
1) First I make sure I’ve uploaded all my photos from the year to Shutterfly. You can do this directly from your phone through the Shutterfly app or using a computer if your photos are saved there. I choose to only use photos from my own phone, because I’ve found I get overwhelmed when I try to curate from my husband’s phone as well.
2) I create a new photo book. I always choose the 12×12 book and choose the Modern White design. Your photos speak for themselves, there is no need for cutesy backgrounds and scrapbook-like graphics that will one day be outdated. You can eliminate a lot of decision fatigue by going all white.
3) For the first page of the book I choose a picture of the entire family. Here I also add in a text box where I mention any big milestones or changes for our family for that year. I keep it simple, only a few sentences.

Sample of my title page with a short summary or our year.
4) Now, here is the key to quickly getting through creating the bulk of the book: a monthly breakdown. I choose “add photos” to the photo tab in the book editor, and then select photos from Shutterfly using the timeline feature. To begin, I select only the photos from January to add to my photo tab. From that board, I select only the photos that are important to me. I am ruthless with this! I don’t include any duplicates, and I try to choose a sample to represent any big moments or events. I typically give each month 2-4 pages (some months have more depending on whether we had any big trips, events, or birthdays that month). I add the title January to the first photo page of that month, but other than that I let the pictures speak for themselves.
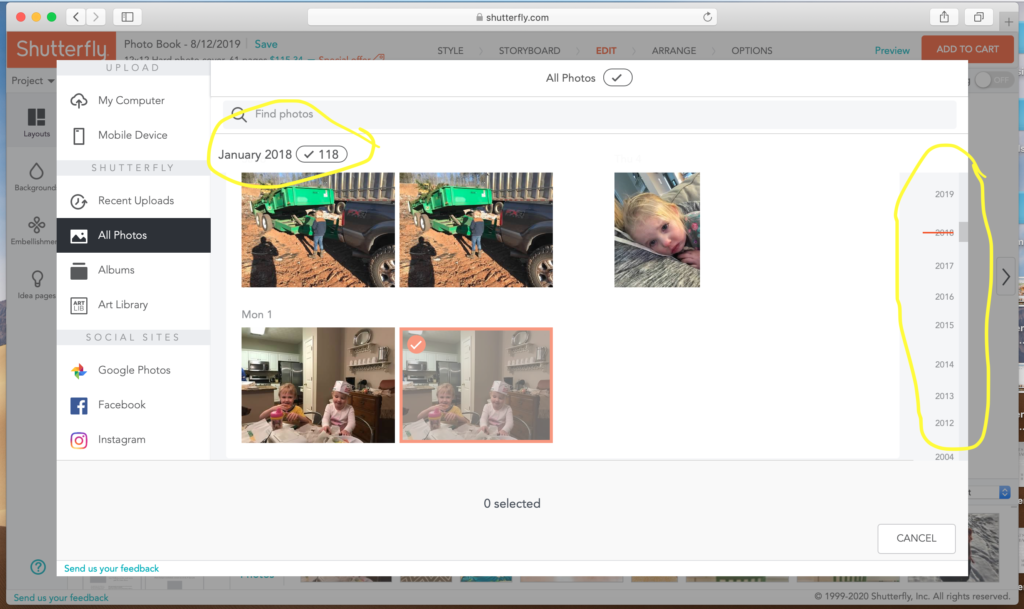
Circled in yellow are the timeline tools I use to help me quickly select one month’s worth of photos at a time.
5) Once I’ve added the most important January photos to the book, I then get rid of any extras remaining in the photo tab. Then I start the process over for the month of February. I select “add photos” to my photo tab, and using the timeline feature, I only select my photos from the month of February to work with. I repeat this process until I get through December.
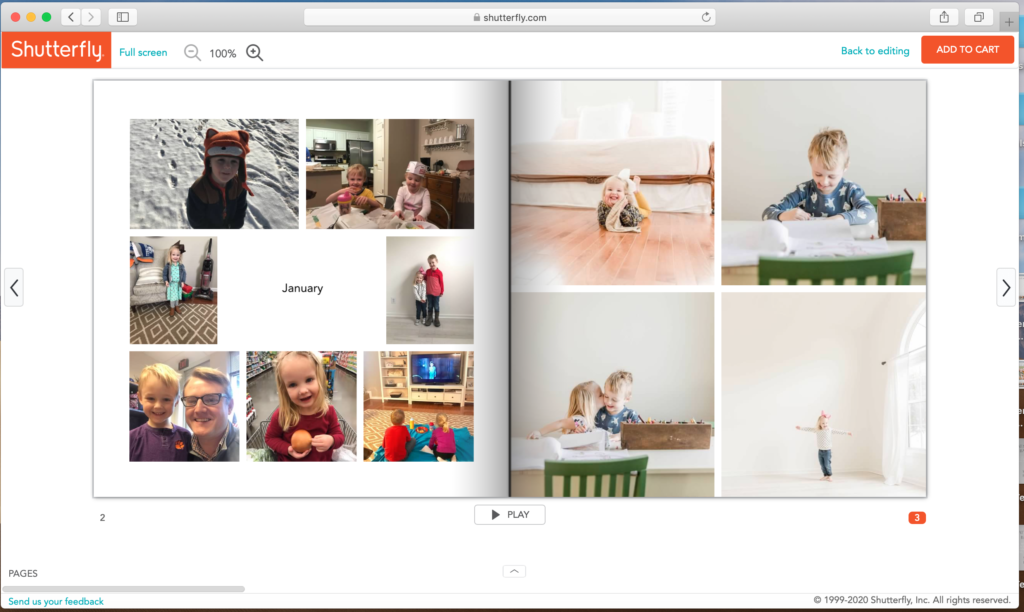
These are my January pages.
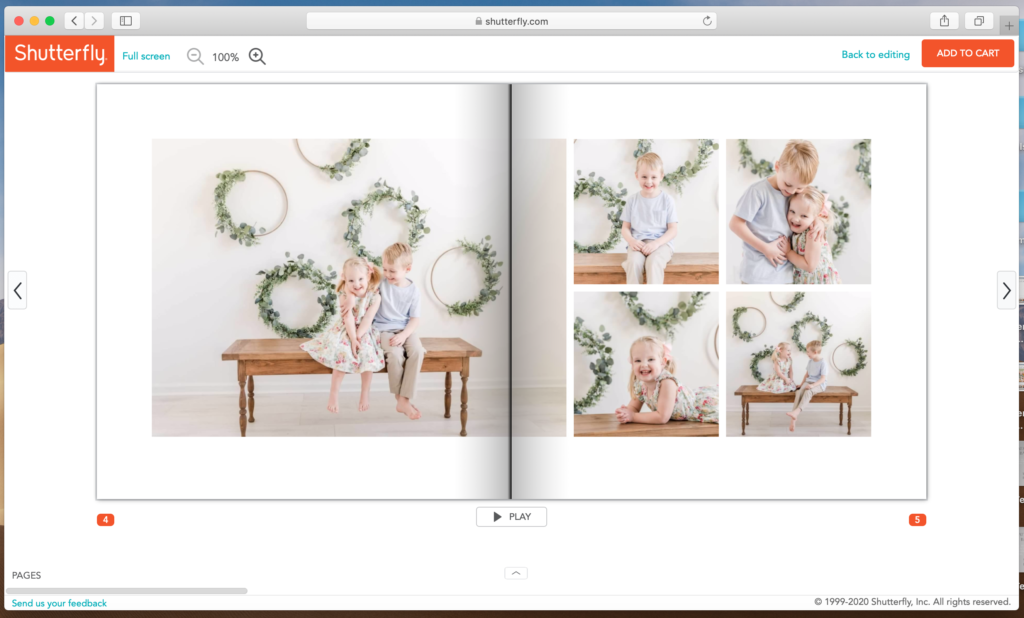
Final January pages, then I continue the same process with February and the rest of the year!
Voila! It’s all done! This method allows me to complete a yearly book in a fast and efficient manner. Sometimes I work on the book throughout the year, at the end of each month and saving it until I come back to complete the next month. I have also waited until the end of the year to do this process all at once. I have created one of these books every year since 2012, and it totally worth the joy it brings my family and children. We have a rule that they can only look at these with us, so it’s always a sweet time to sit together and talk about our family experiences and memories together.
I hope these tips can help you cut through all the overwhelm and decision fatigue when it comes to documenting your family through yearly photo books.
Molly is a newborn and family photographer based in Greenville, SC. To contact Molly, click here.
Come follow along on Instagram!
Molly
Comments
Leave a Comment
Leave a Reply
Meet Molly
Molly specializes in family & newborn photography in Greenville, SC. A former teacher and mother of three, she is known for capturing the joy & love of families. Photo sessions with Molly turn family memories into artwork for your home and for generations to come.
[…] If you need a quick lesson on how to be efficient when you make your yearly album check out this how-to article. Or these tips – but don’t be overwhelmed by how many pictures are in this pro […]
Thank you for your post:)
Do you use glossy or matte covers?
Inside do you use glossy or matte?
What do you write on the spine
Love the info:)
is there any service or app to down load, that a person can start a photo book and add to it over a couple of years and then conclude and have it printed, obviously storing the draft copy till finished on ones own computer ?